You might recall our family’s big spring/summer project has been renovating a neglected 1970’s rambling rancher right next door to my sister. We’re settled in now and have been chugging along with updates, but I had to share a recent project that Husband undertook to bless me for my recent birthday… I think it’s my favorite part of the remodel thus far!
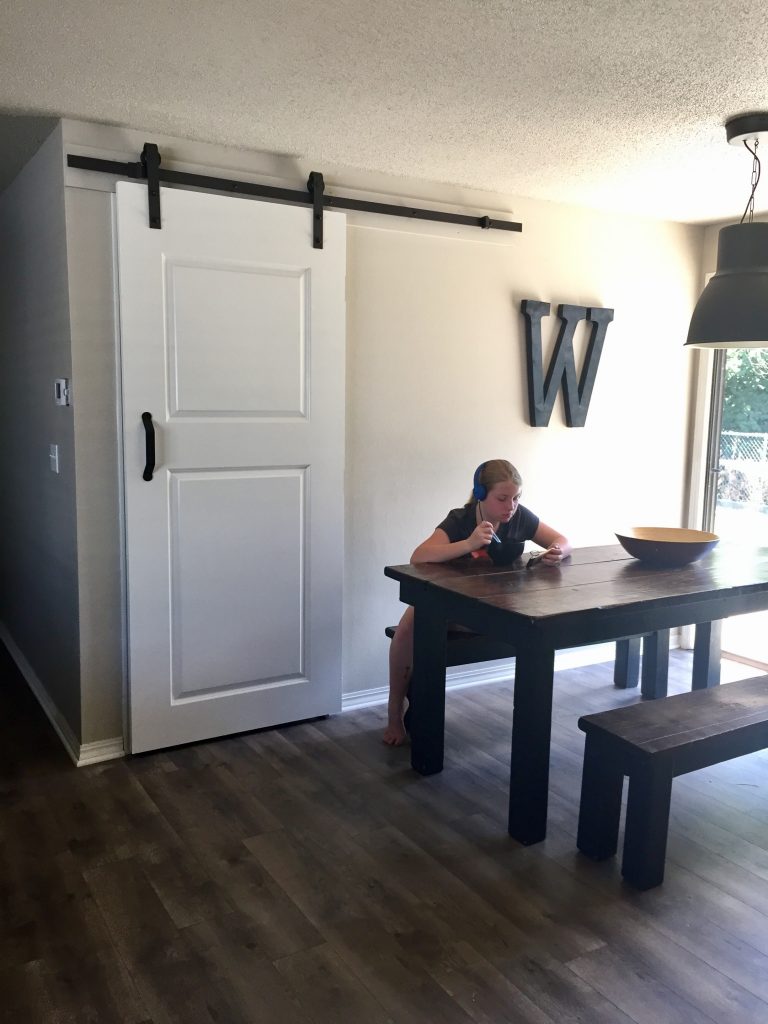
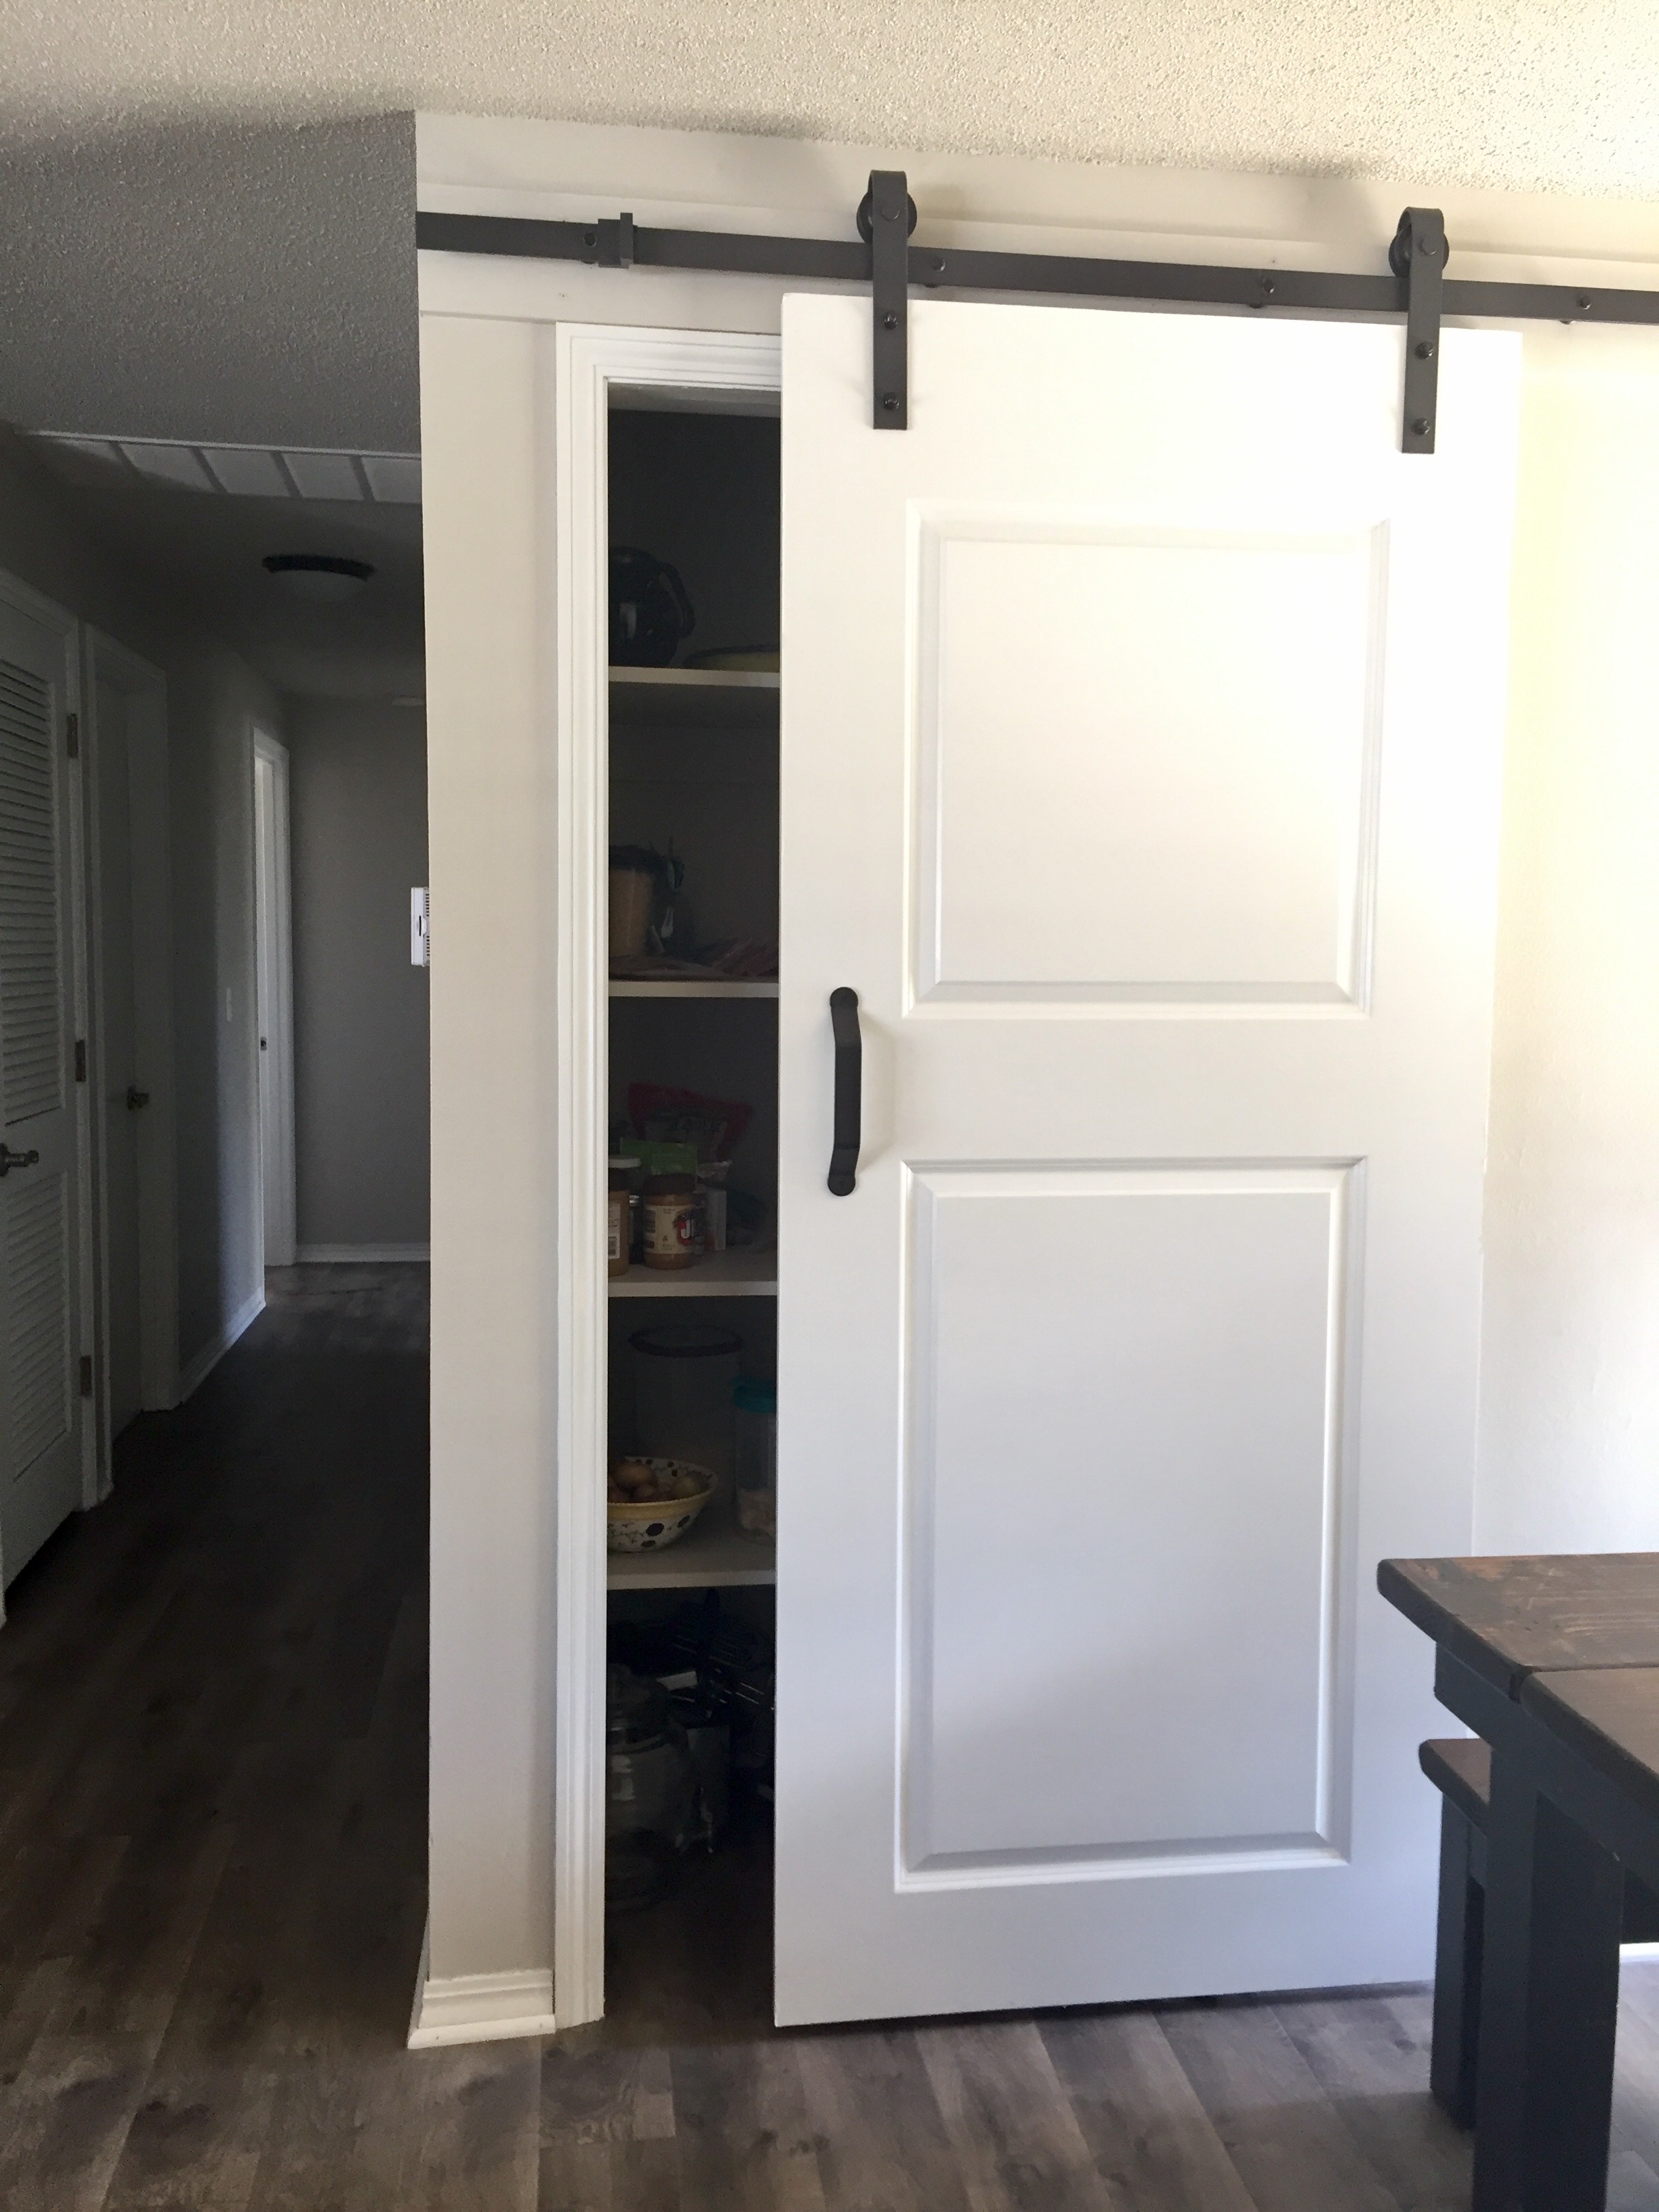
He took a dingy old hall closet (this isn’t Montana afterall, no bulky winter gear to store) and converted it to a space-saving, pantry– a welcome addition for this ever-hungry family of five with limited cabinet space in our yet-unremodeled galley kitchen.
Dining area before: carpeted (como say what?!), dated light fixture & paint, heavy drapes over backyard slider, and rickety bi-fold door on impractical hall closet.
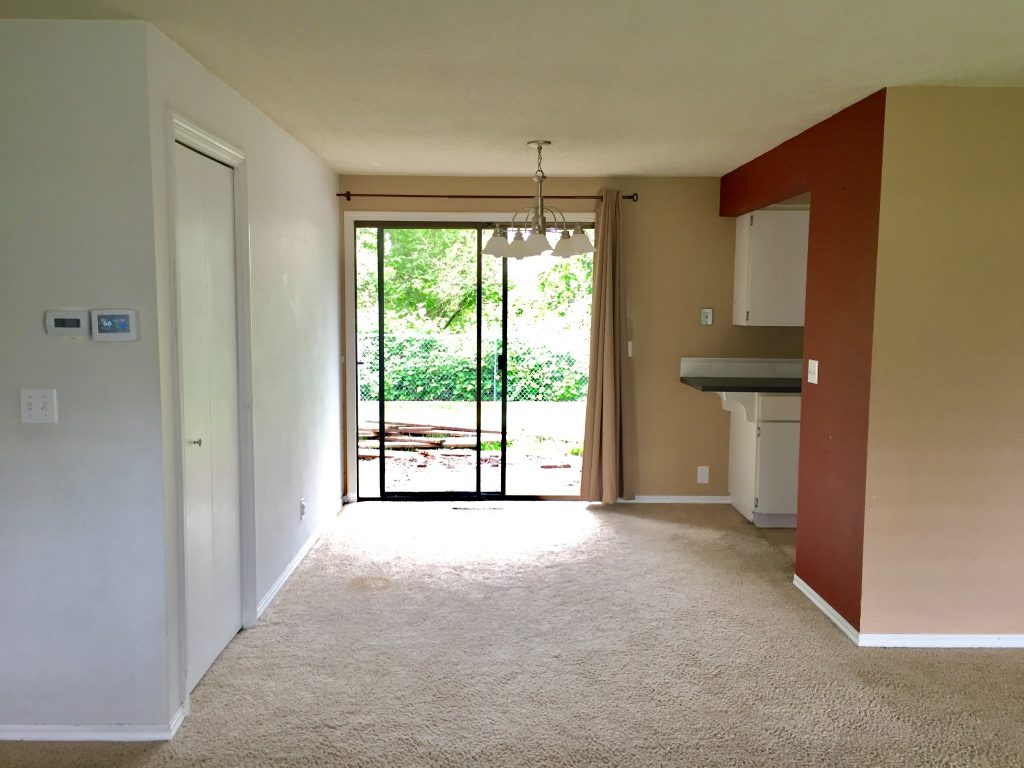
Hall closet stage left. Below after removal of bi-fold doors & paint (worldly gray), prior to install of pantry shelves.
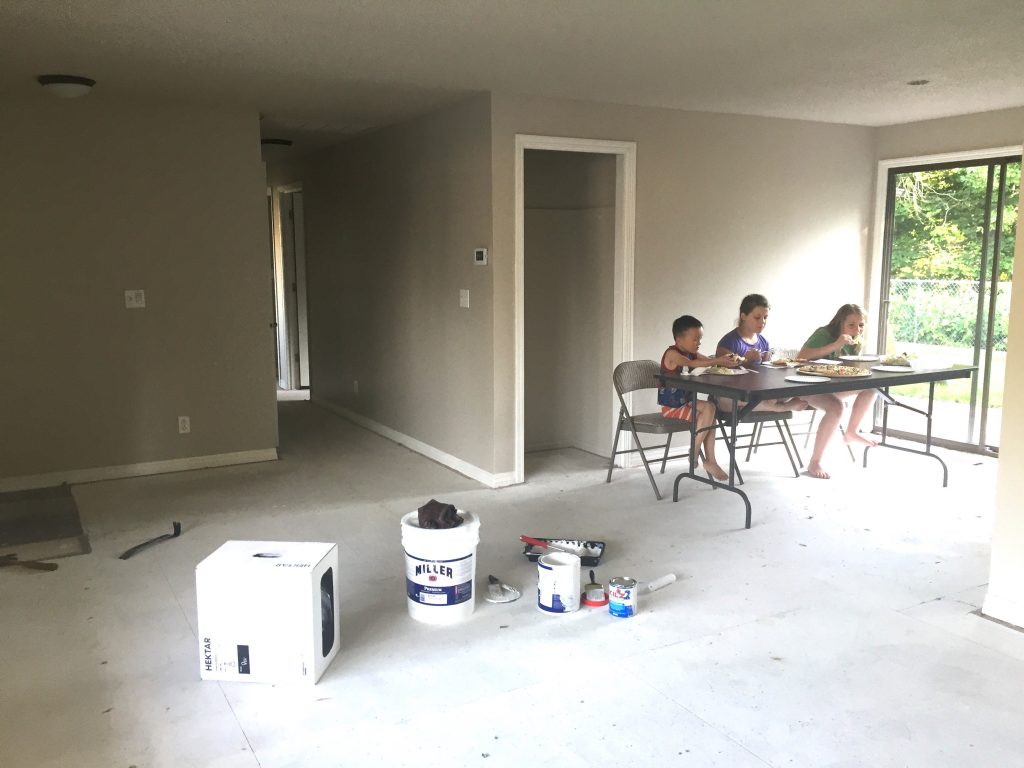
Commencing operation barn door…
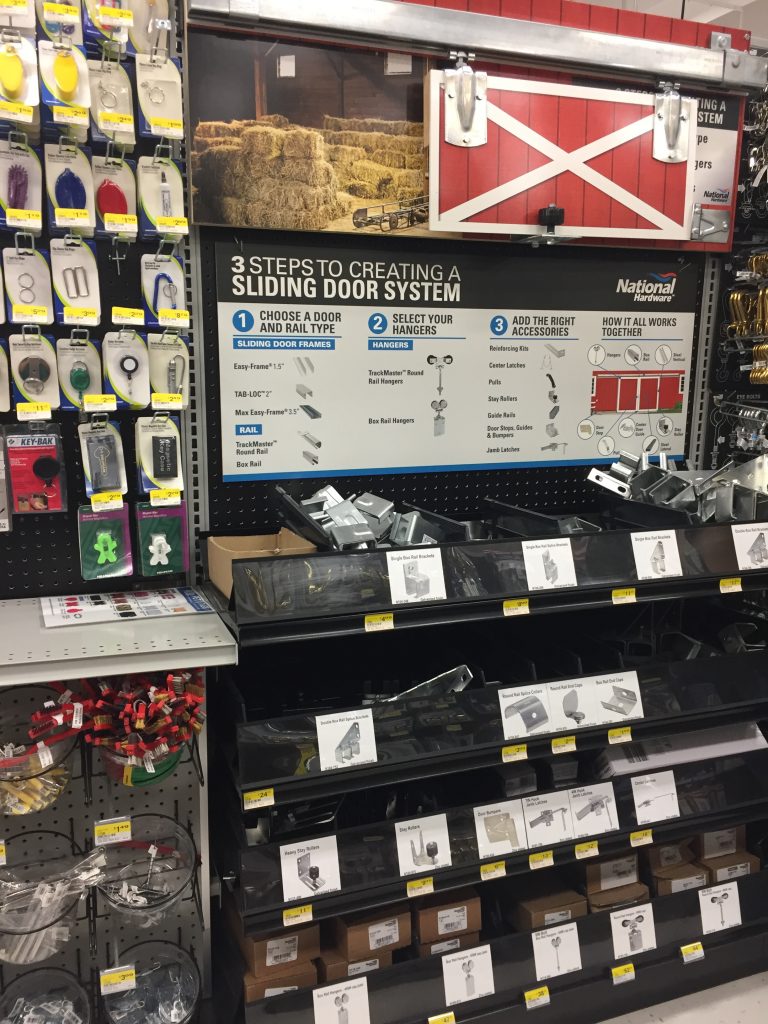
Step #1: Research barn-door mechanism. One can purchase a kit at Home Depot or Lowe’s, but a true farm store like Wilco carries them for less (though only in silver, you’ll have to spray paint it for black). Husband actually found the best deal on Amazon— about half the cost of everything else, all inclusive & sturdy as heck.
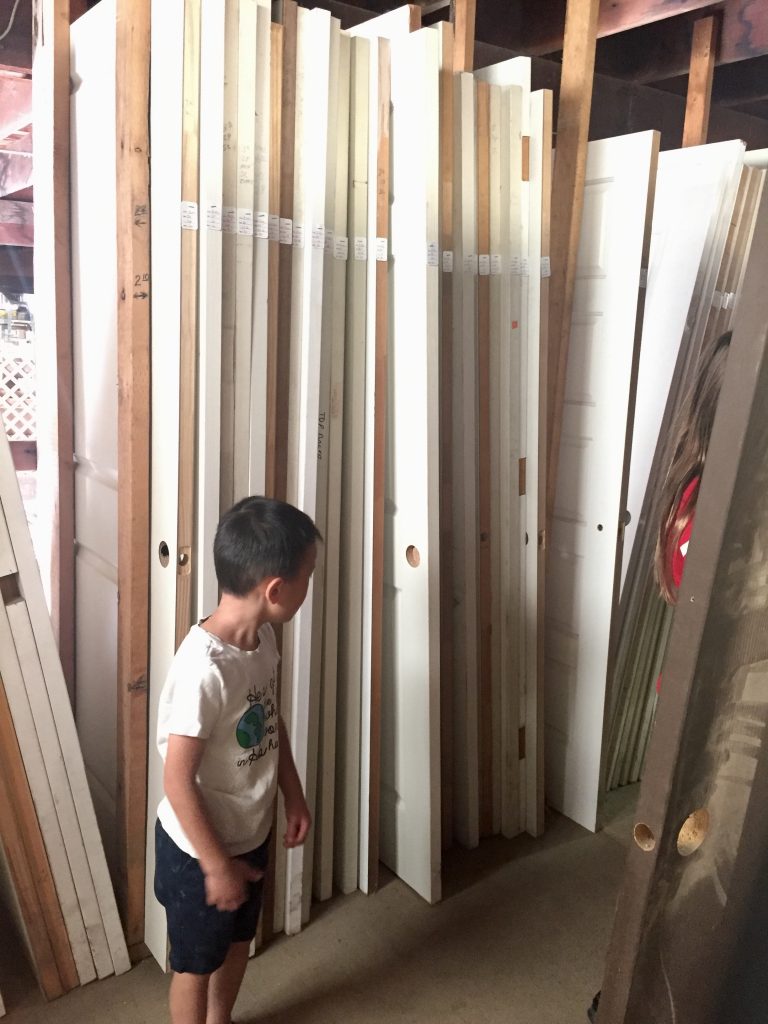
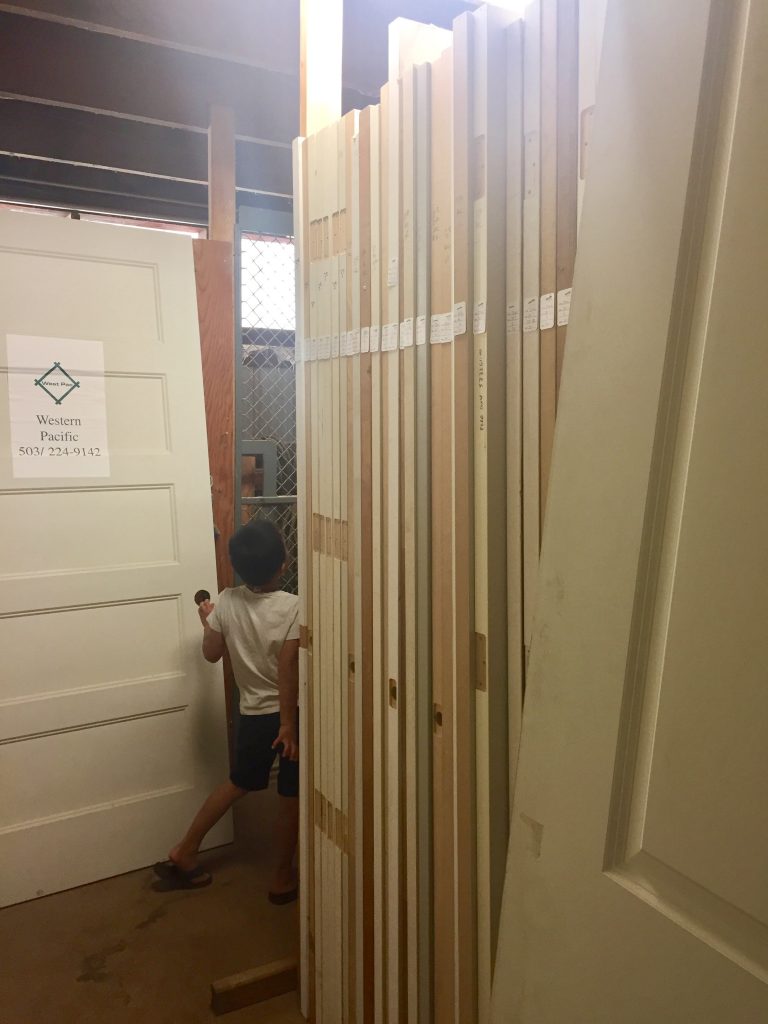
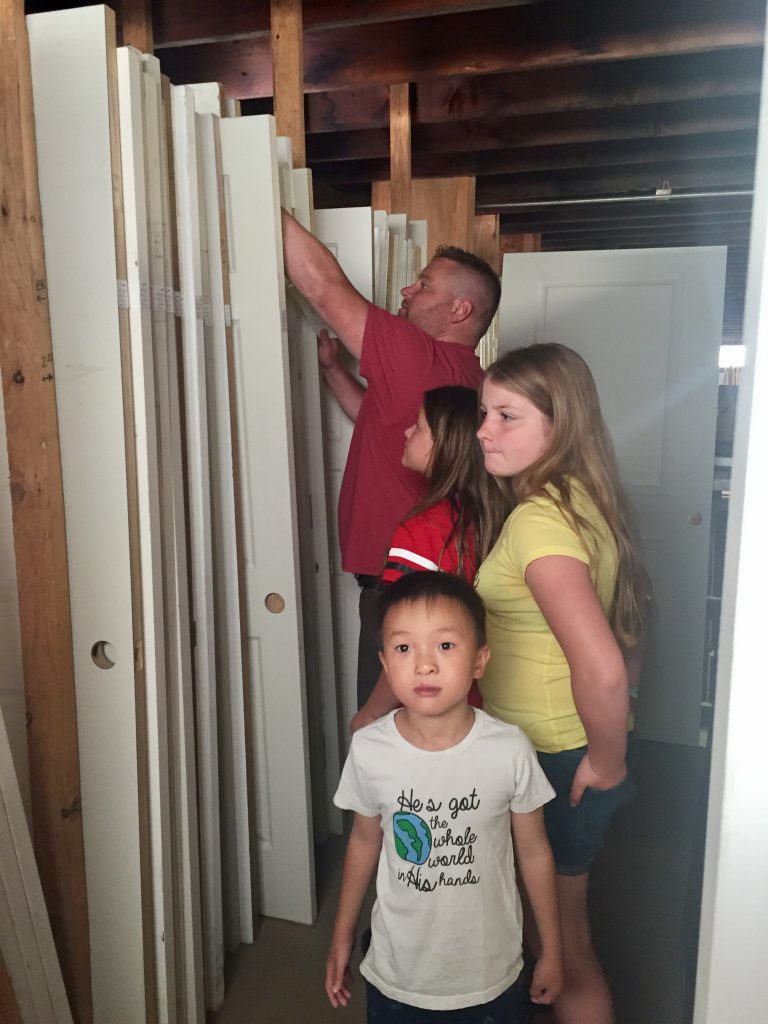
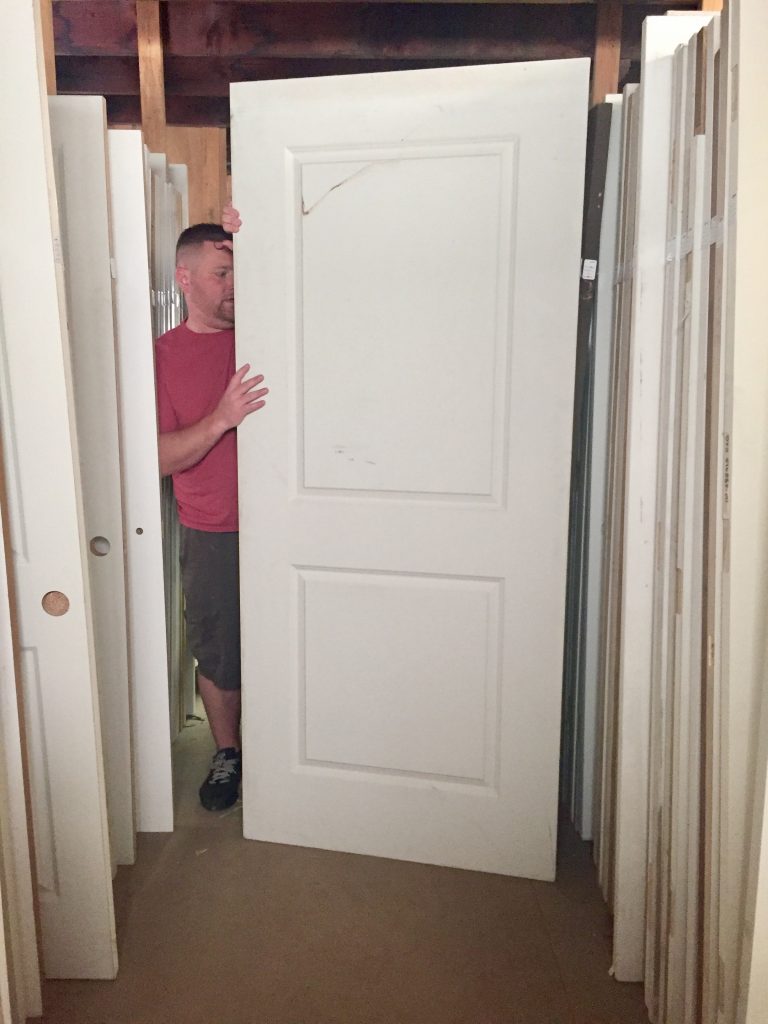
Step #2: Select a door. You’ll want a solid wood door versus hollow core, so it’s heavy enough to hang nicely on the slider. Be sure to measure to width that will cover entire door frame. Husband found a warehouse locally that carries all sizes of uncut doors at deep discounts. We wanted one that didn’t have a doorknob or hinge hole, and needed a larger size than standard to sufficiently cover the opening.

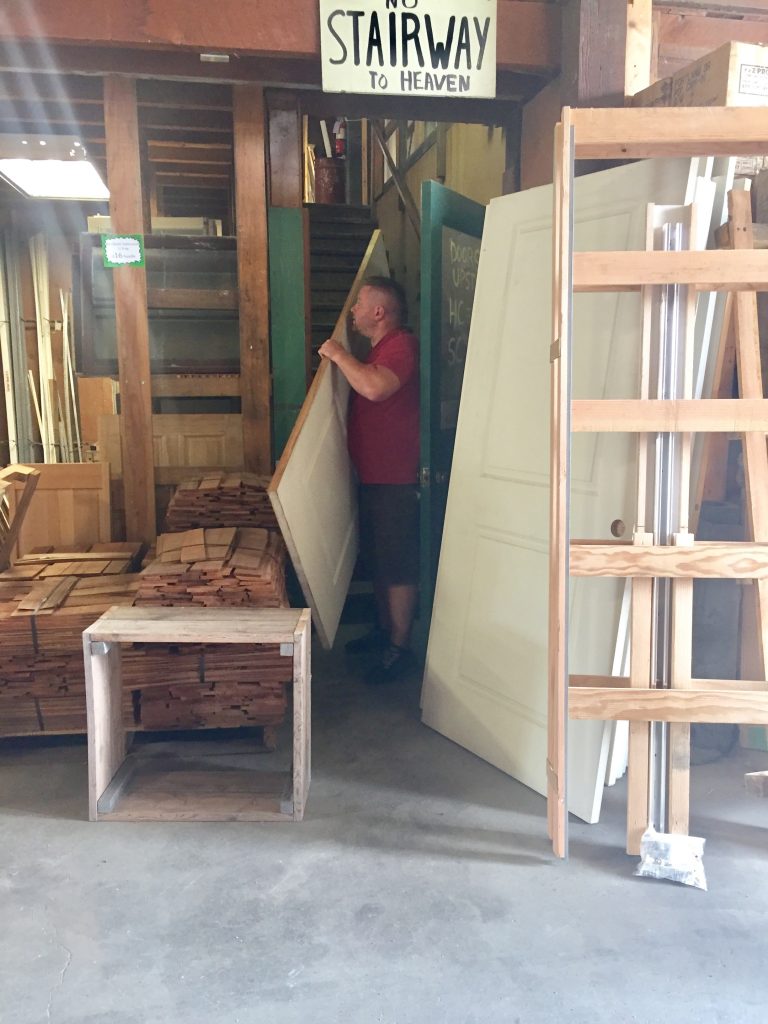
Step #3: Paint door as desired. We chose to match it to the rest of the interior trim (color: Snowbound) and initially planned to add chalkboard paint to the panels. I was hesitant last minute, so we first hung pieces of black construction paper to help us decide…
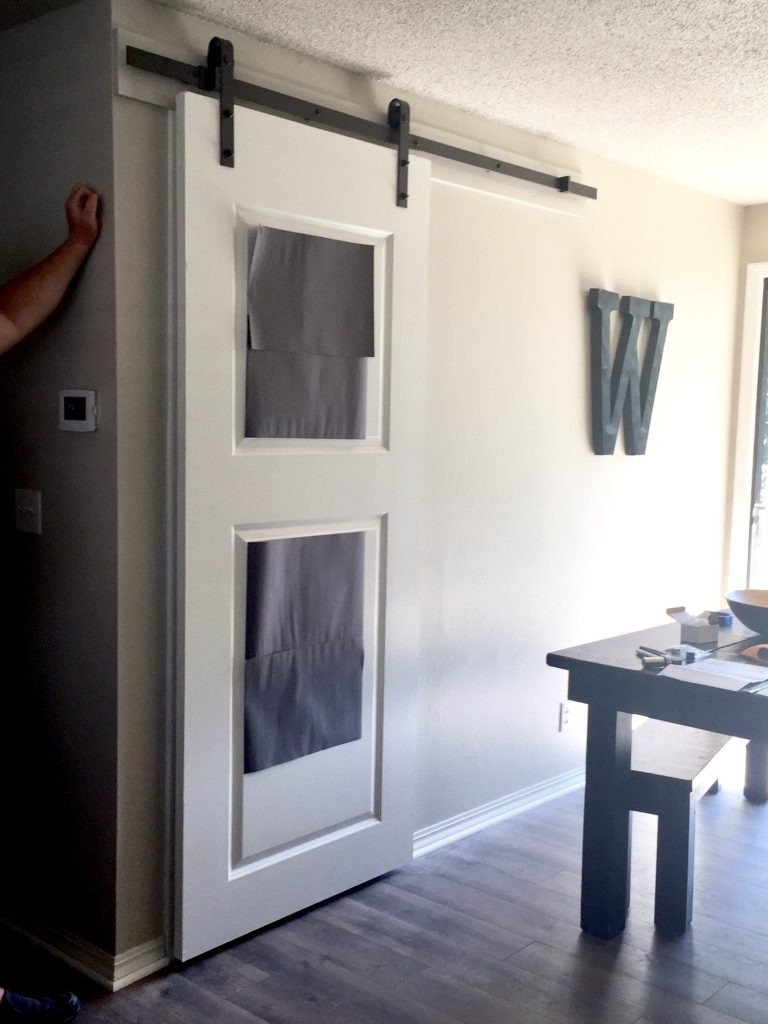
…It confirmed my reluctance, so we promptly returned the unopened can of chalkboard paint to the hardware store. It would have been useful and cute, but I just found it to be too busy– we can always change our minds and add it later. We’ll simply continue to use dry-erase markers on the sliding glass doors for our homeschool lessons, instead.
Step #4: Sit back and sip lemonade whilst Husband hangs mechanism, offer occasional words of encouragement and helping hand as needed. We found our dated home had non-standard stud spacing within the walls, so a simple 1″ plank header painted to match the walls was first installed over the drywall to secure it.
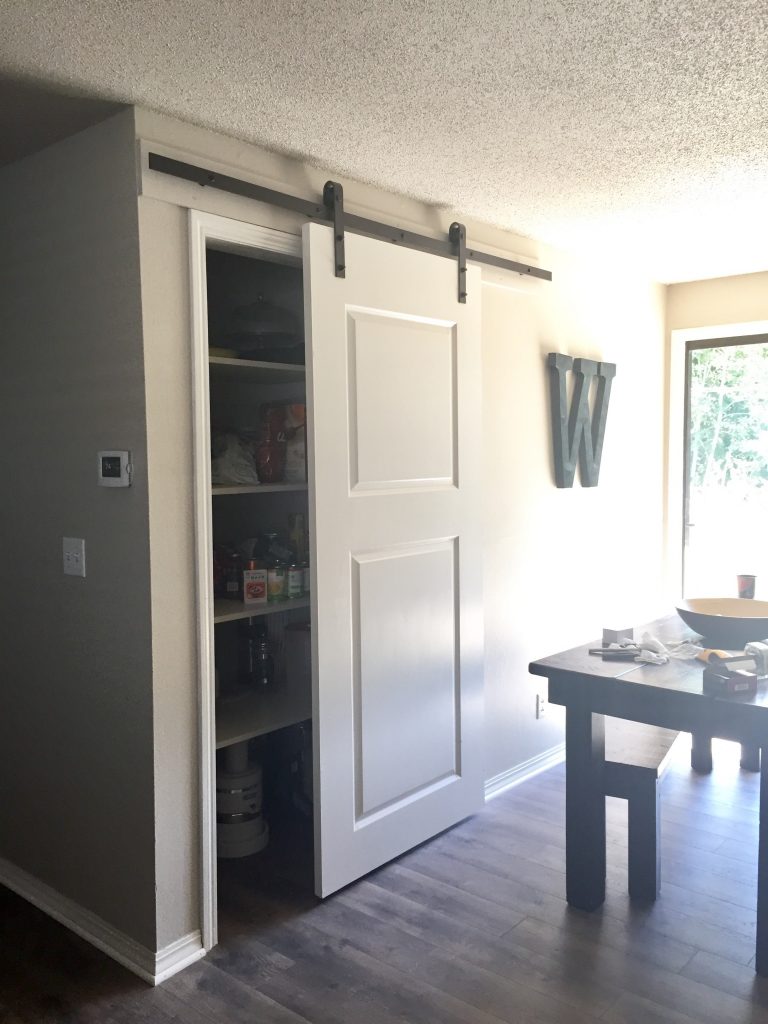
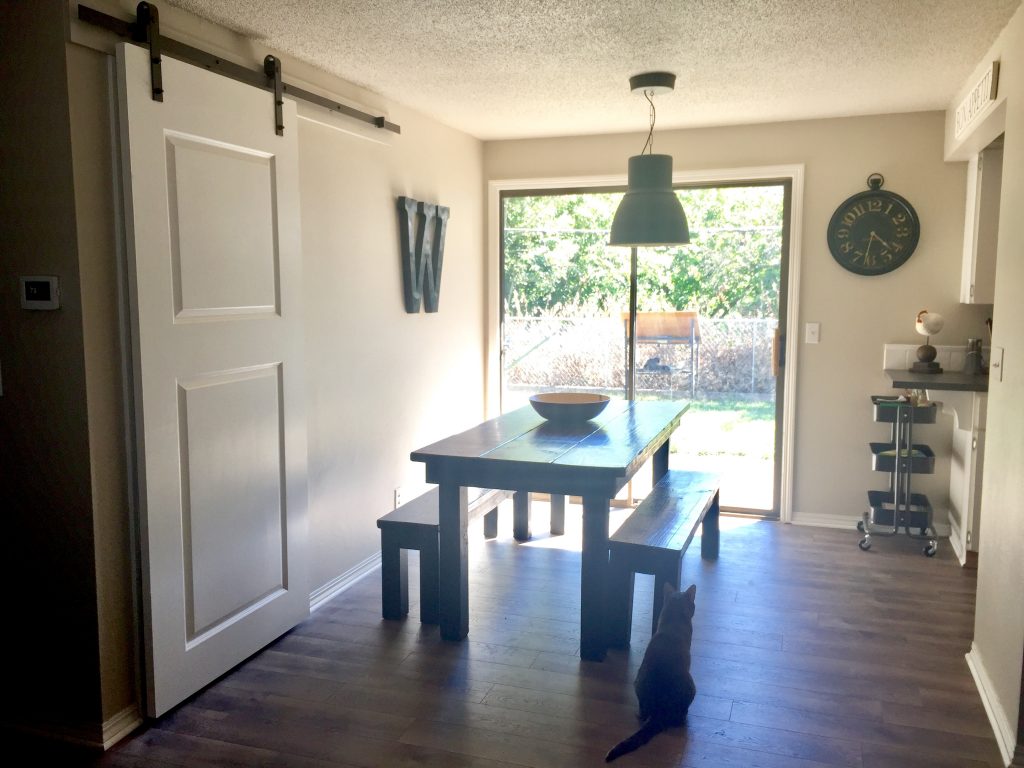
Final touch was a simple, sturdy handle Husband found at the hardware store.
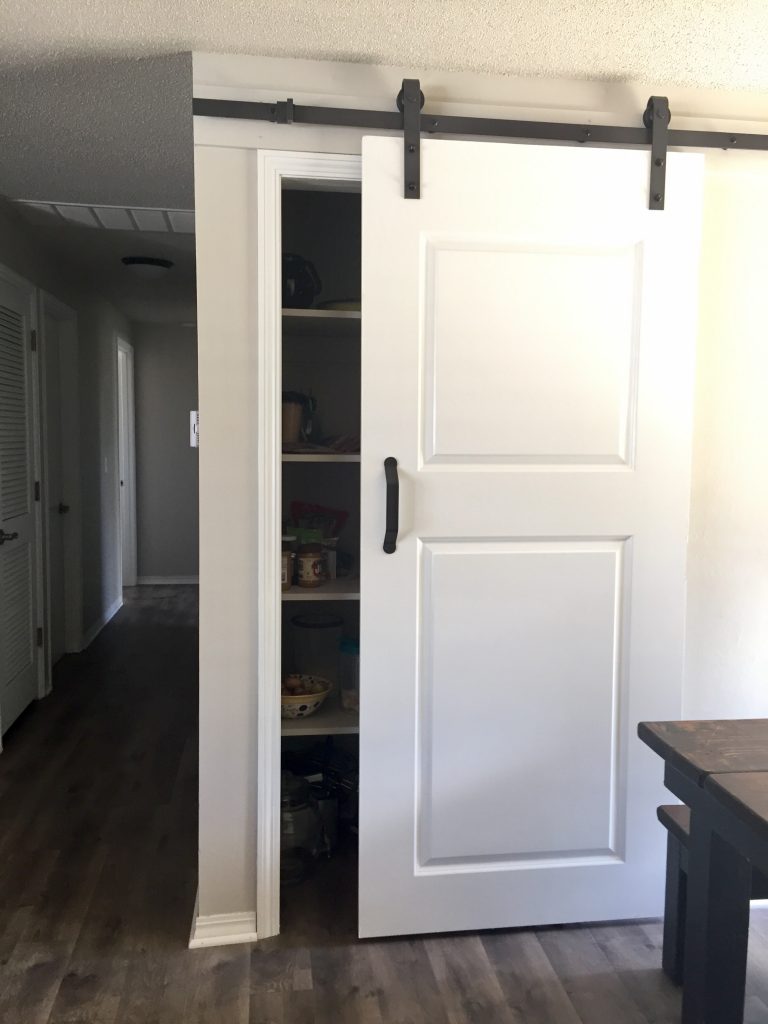
I’m positively delighted by this useful yet lovely improvement to our new home.



Leave a Reply
You must be logged in to post a comment.